
Pick the right DePIN marketplace
Rent GPUs on DePIN Networks works best as a clear sequence: define the constraint, compare the realistic options, test the tradeoff, and choose the path with the fewest hidden costs. That order keeps the advice usable instead of decorative. After each step, pause long enough to check whether the recommendation still fits the reader's actual situation. If it depends on perfect timing, unusual access, or a best-case budget, include a simpler fallback.
| Factor | What to check | Why it matters |
|---|---|---|
| Fit | Match the option to the primary use case. | A good deal still fails if it does not fit the job. |
| Condition | Verify age, wear, and service history. | Hidden condition issues erase upfront savings. |
| Cost | Compare purchase price with likely upkeep. | The cheapest option is not always the lowest-cost option. |
Set up your Docker environment
Renting a GPU on a DePIN network requires a standardized, portable environment. Unlike traditional cloud providers that lock you into proprietary stacks, DePIN protocols rely on open-source tooling. This approach allows you to move your workload between different networks or providers without rewriting your code.
The core of this setup is Docker. It ensures your application runs consistently across different hardware configurations, from a personal gaming rig to a cloud instance. By containerizing your node client and dependencies, you eliminate "it works on my machine" errors and simplify the troubleshooting process.
We will walk through the steps to install Docker, configure the network client, and prepare your environment for the first connection. This sequence applies to most major DePIN GPU marketplaces.

Download and install Docker from the official Docker website. For Linux users, installing the Docker Engine via your distribution's package manager is often cleaner. Ensure the Docker service is running and that your user has permission to execute Docker commands without sudo by adding your user to the docker group.
DePIN networks need to detect your GPU hardware. Run docker run --rm --gpus all nvidia/cuda:12.1.0-base-ubuntu22.04 nvidia-smi to test. If the command returns a table of GPU status, your NVIDIA drivers are correctly exposed to the container runtime. If it fails, check your host-side NVIDIA driver installation and ensure the NVIDIA Container Toolkit is installed.
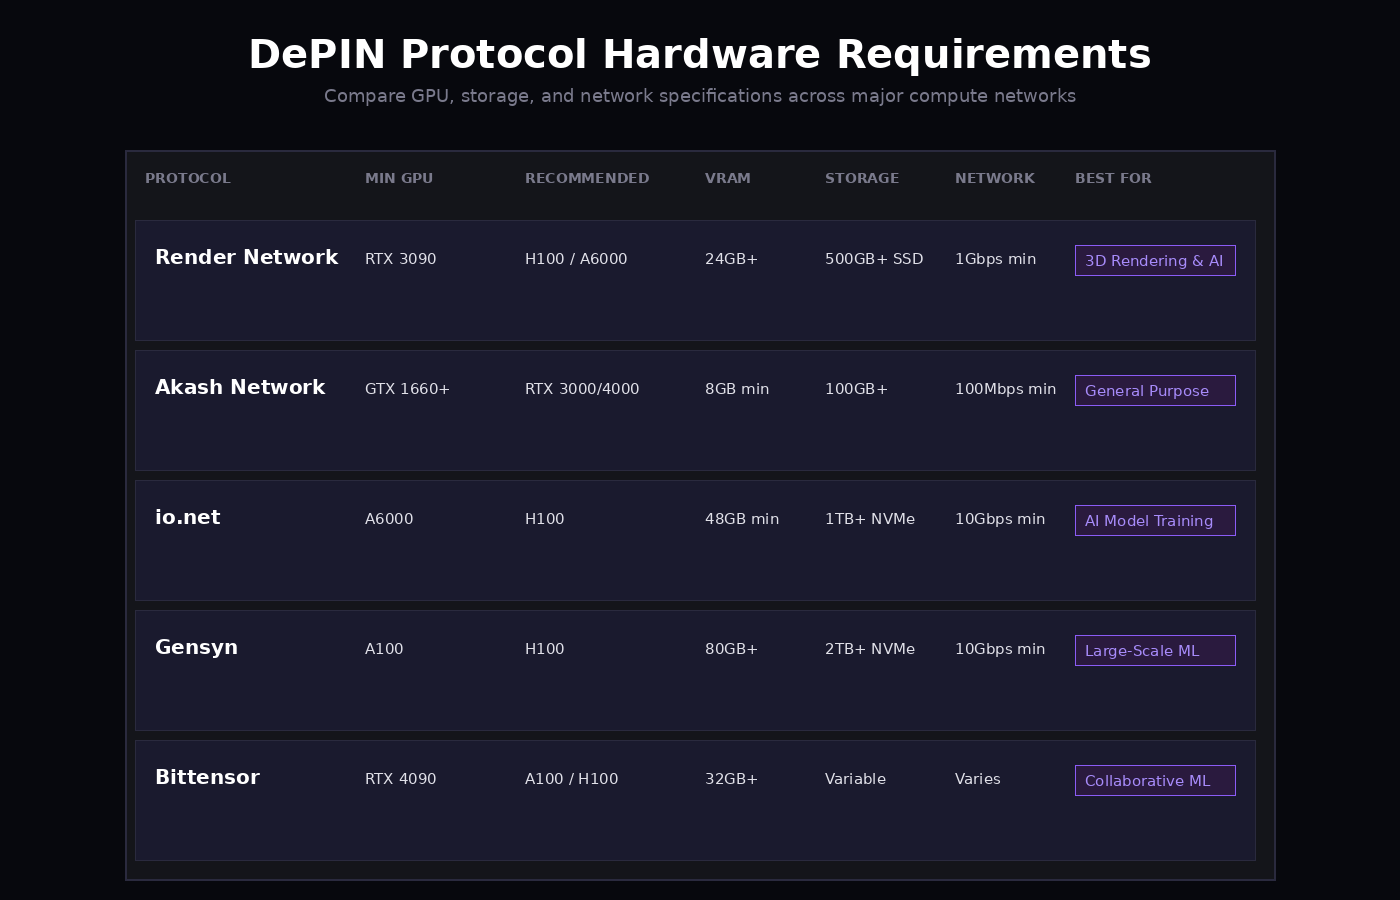
Each DePIN network provides a specific Docker image for its node client. Visit the official documentation for your chosen network (e.g., Render, Akash, or io.net) to find the correct image tag. Use docker pull <network-client-image> to download it locally. This image contains the binary that will connect you to the network and report your GPU availability.
Most clients require API keys or wallet addresses to authenticate and receive payments. Create a .env file in your working directory. Add your network-specific credentials here, such as WALLET_ADDRESS or API_KEY. Never hardcode these values into your Docker run command or source code, as this exposes them to version control logs.
Start the container with GPU access and your environment variables. A typical command looks like: docker run --gpus all --env-file .env -d <network-client-image>. Use docker logs -f <container_id> to monitor the output. The client should begin broadcasting your hardware specs to the network's discovery layer.
Deploy and monitor your workload
Launching an AI training or inference job on a DePIN network requires a shift from traditional cloud management. Instead of provisioning virtual machines, you interact with decentralized nodes that provide raw GPU access. Platforms like io.net and DePINed facilitate this by acting as the marketplace layer, connecting your workload with idle or dedicated hardware from global providers.
1. Select and configure your node
Before sending your job, verify the node specifications match your model’s requirements. Check VRAM capacity, memory bandwidth, and network latency. High latency between nodes can severely bottleneck distributed training jobs. Use the platform’s filtering tools to isolate nodes in regions with low ping to your primary data source. Always check network latency before committing to long-running training jobs on decentralized nodes.
2. Submit your containerized workload
Most DePIN platforms support Docker containers. Package your AI environment, including dependencies like PyTorch or TensorFlow, into a standardized image. Upload this image to a public registry or use the platform’s built-in storage. Submit the job through the dashboard or CLI, specifying the desired GPU type and duration. The protocol will assign your container to an available node, initiating the compute process.
3. Monitor resource usage in real time
Unlike static cloud instances, decentralized nodes can fluctuate in performance. Use the platform’s monitoring dashboard to track GPU utilization, memory usage, and network throughput. If you notice throttling or unexpected downtime, pause the job to prevent wasted credits. For inference tasks, monitor token generation speed to ensure the node meets your latency SLAs. Adjust your node selection if performance degrades significantly.
4. Validate outputs and costs
Once the job completes, verify the output integrity. Compare the results against a baseline run on a trusted cloud instance if possible. Review the billing report to ensure you were charged only for active compute time. Many platforms offer cost transparency tools that break down expenses by node and duration. This step ensures your DePIN strategy remains more economical than traditional hyperscalers.
Avoid common rental pitfalls
Renting GPU compute on decentralized physical infrastructure networks (DePIN) offers lower rates than centralized clouds, but the savings often disappear when hidden costs and technical failures pile up. To keep your project on budget, you need to look past the headline price and verify three specific areas: network reliability, storage overhead, and hardware compatibility.
Verify uptime guarantees and penalties
Most DePIN platforms offer compute at a fraction of the cost of AWS or RunPod because they aggregate underutilized hardware. This efficiency comes with a trade-off: inconsistent uptime. Unlike enterprise-grade data centers, decentralized nodes can go offline due to power outages, internet instability, or operator error.
Before committing to a large job, check the platform’s historical uptime for the specific node or region you are targeting. Look for explicit penalty clauses in the terms of service. If a node goes down for more than a few hours, does the protocol automatically refund your compute credits? Without these protections, a training job that runs for days could stall indefinitely, wasting both time and money. Always prioritize platforms that offer insurance-backed compute or automatic failover to a secondary node.
Watch for hidden storage and egress fees
The hourly rate for GPU access is only one part of the equation. Decentralized storage layers often charge separately for data ingestion and retrieval. If you are moving large datasets to and from the compute node, egress fees can quickly exceed the cost of the GPU hours themselves.
Some platforms bundle storage with compute, while others treat them as separate services. If you are using a decentralized storage network like Filecoin or Arweave alongside your compute, calculate the total cost of data transfer. For long-running jobs that require frequent checkpointing, the cost of writing and reading large model weights can add up significantly. Use local caching or choose nodes with high-bandwidth, low-latency connections to minimize these overheads.
Check driver and library compatibility
Decentralized nodes run a wide variety of hardware configurations. A node advertised as "RTX 4090" might be running an outdated version of CUDA or missing specific libraries required by your framework. Compatibility issues are the most common reason for silent failures in distributed training.
Before starting, verify the exact software stack on the node. Ensure that your Docker container or environment matches the host’s driver version. If you are using specialized libraries like cuDNN or specific PyTorch versions, confirm they are pre-installed. A mismatch can cause your job to crash or, worse, produce incorrect results without throwing an error. Always run a small test batch before launching a full-scale training run.
Frequently asked: what to check next
Helpful gear
Use these product recommendations as a starting point, then choose the size, material, and price point that fit how you actually use the gear.
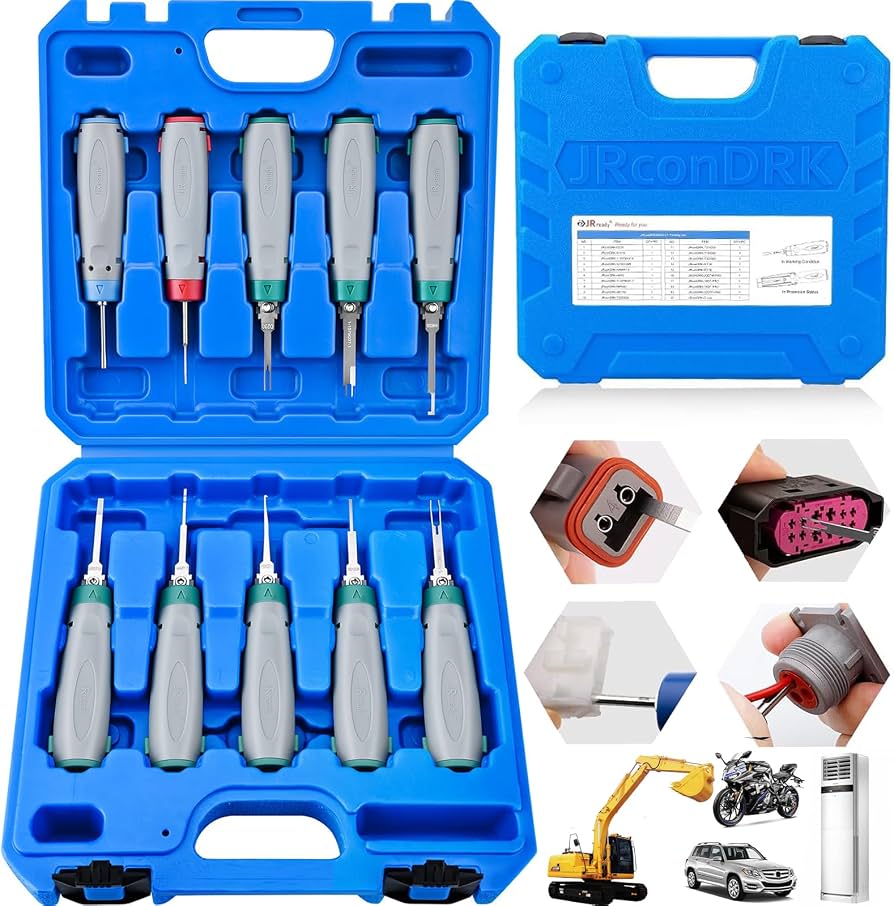
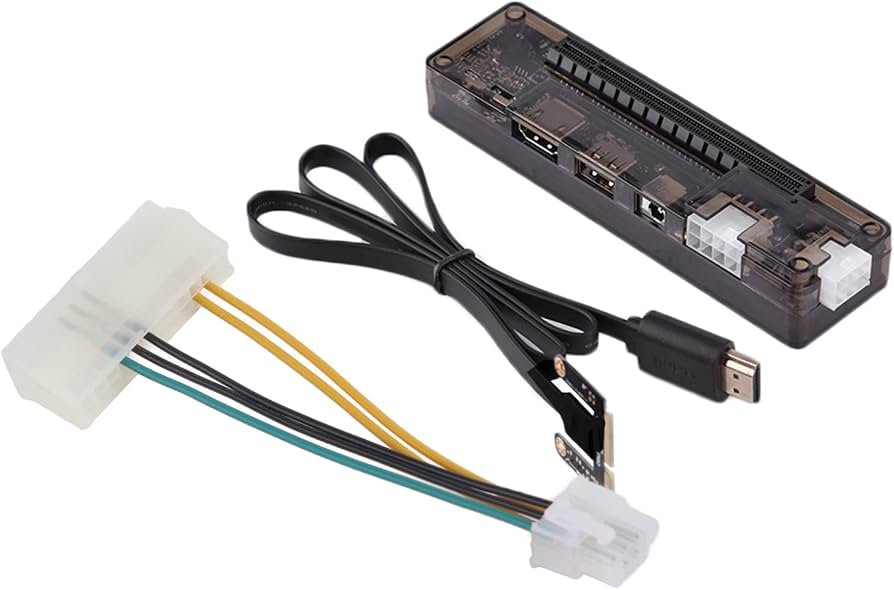

As an Amazon Associate, we may earn from qualifying purchases.
No comments yet. Be the first to share your thoughts!